 I’ve been mixing things up on Just Add Glam a lot in 2015 mainly because I’ve been wanting to post about what is currently inspiring me RIGHT NOW. Maybe I’ve been getting another year older but I’m finding that I’m interested in sharing more posts beyond #OOTD (Not to mention I’ve been house hunting for the past 4 months with 95% of my clothes and shoes in storage so I’ve been wearing a lot of stuff on repeat repeat repeat repeat. The San Francisco housing marking is completely insane and my living nightmare at the moment, but that’s a topic for another day…)
I’ve been obsessed with my puppy Lola since I adopted her back in December 2014 and I love giving her treats as a reward after a long hike or a ball fetching session and I figured…hey, I could make these myself! I’ve made a handful of batches and have adapted a few different recipes to make my own. Lola is completely obsessed with these bones and jumps into the air for them (store bought ones don’t do that)!
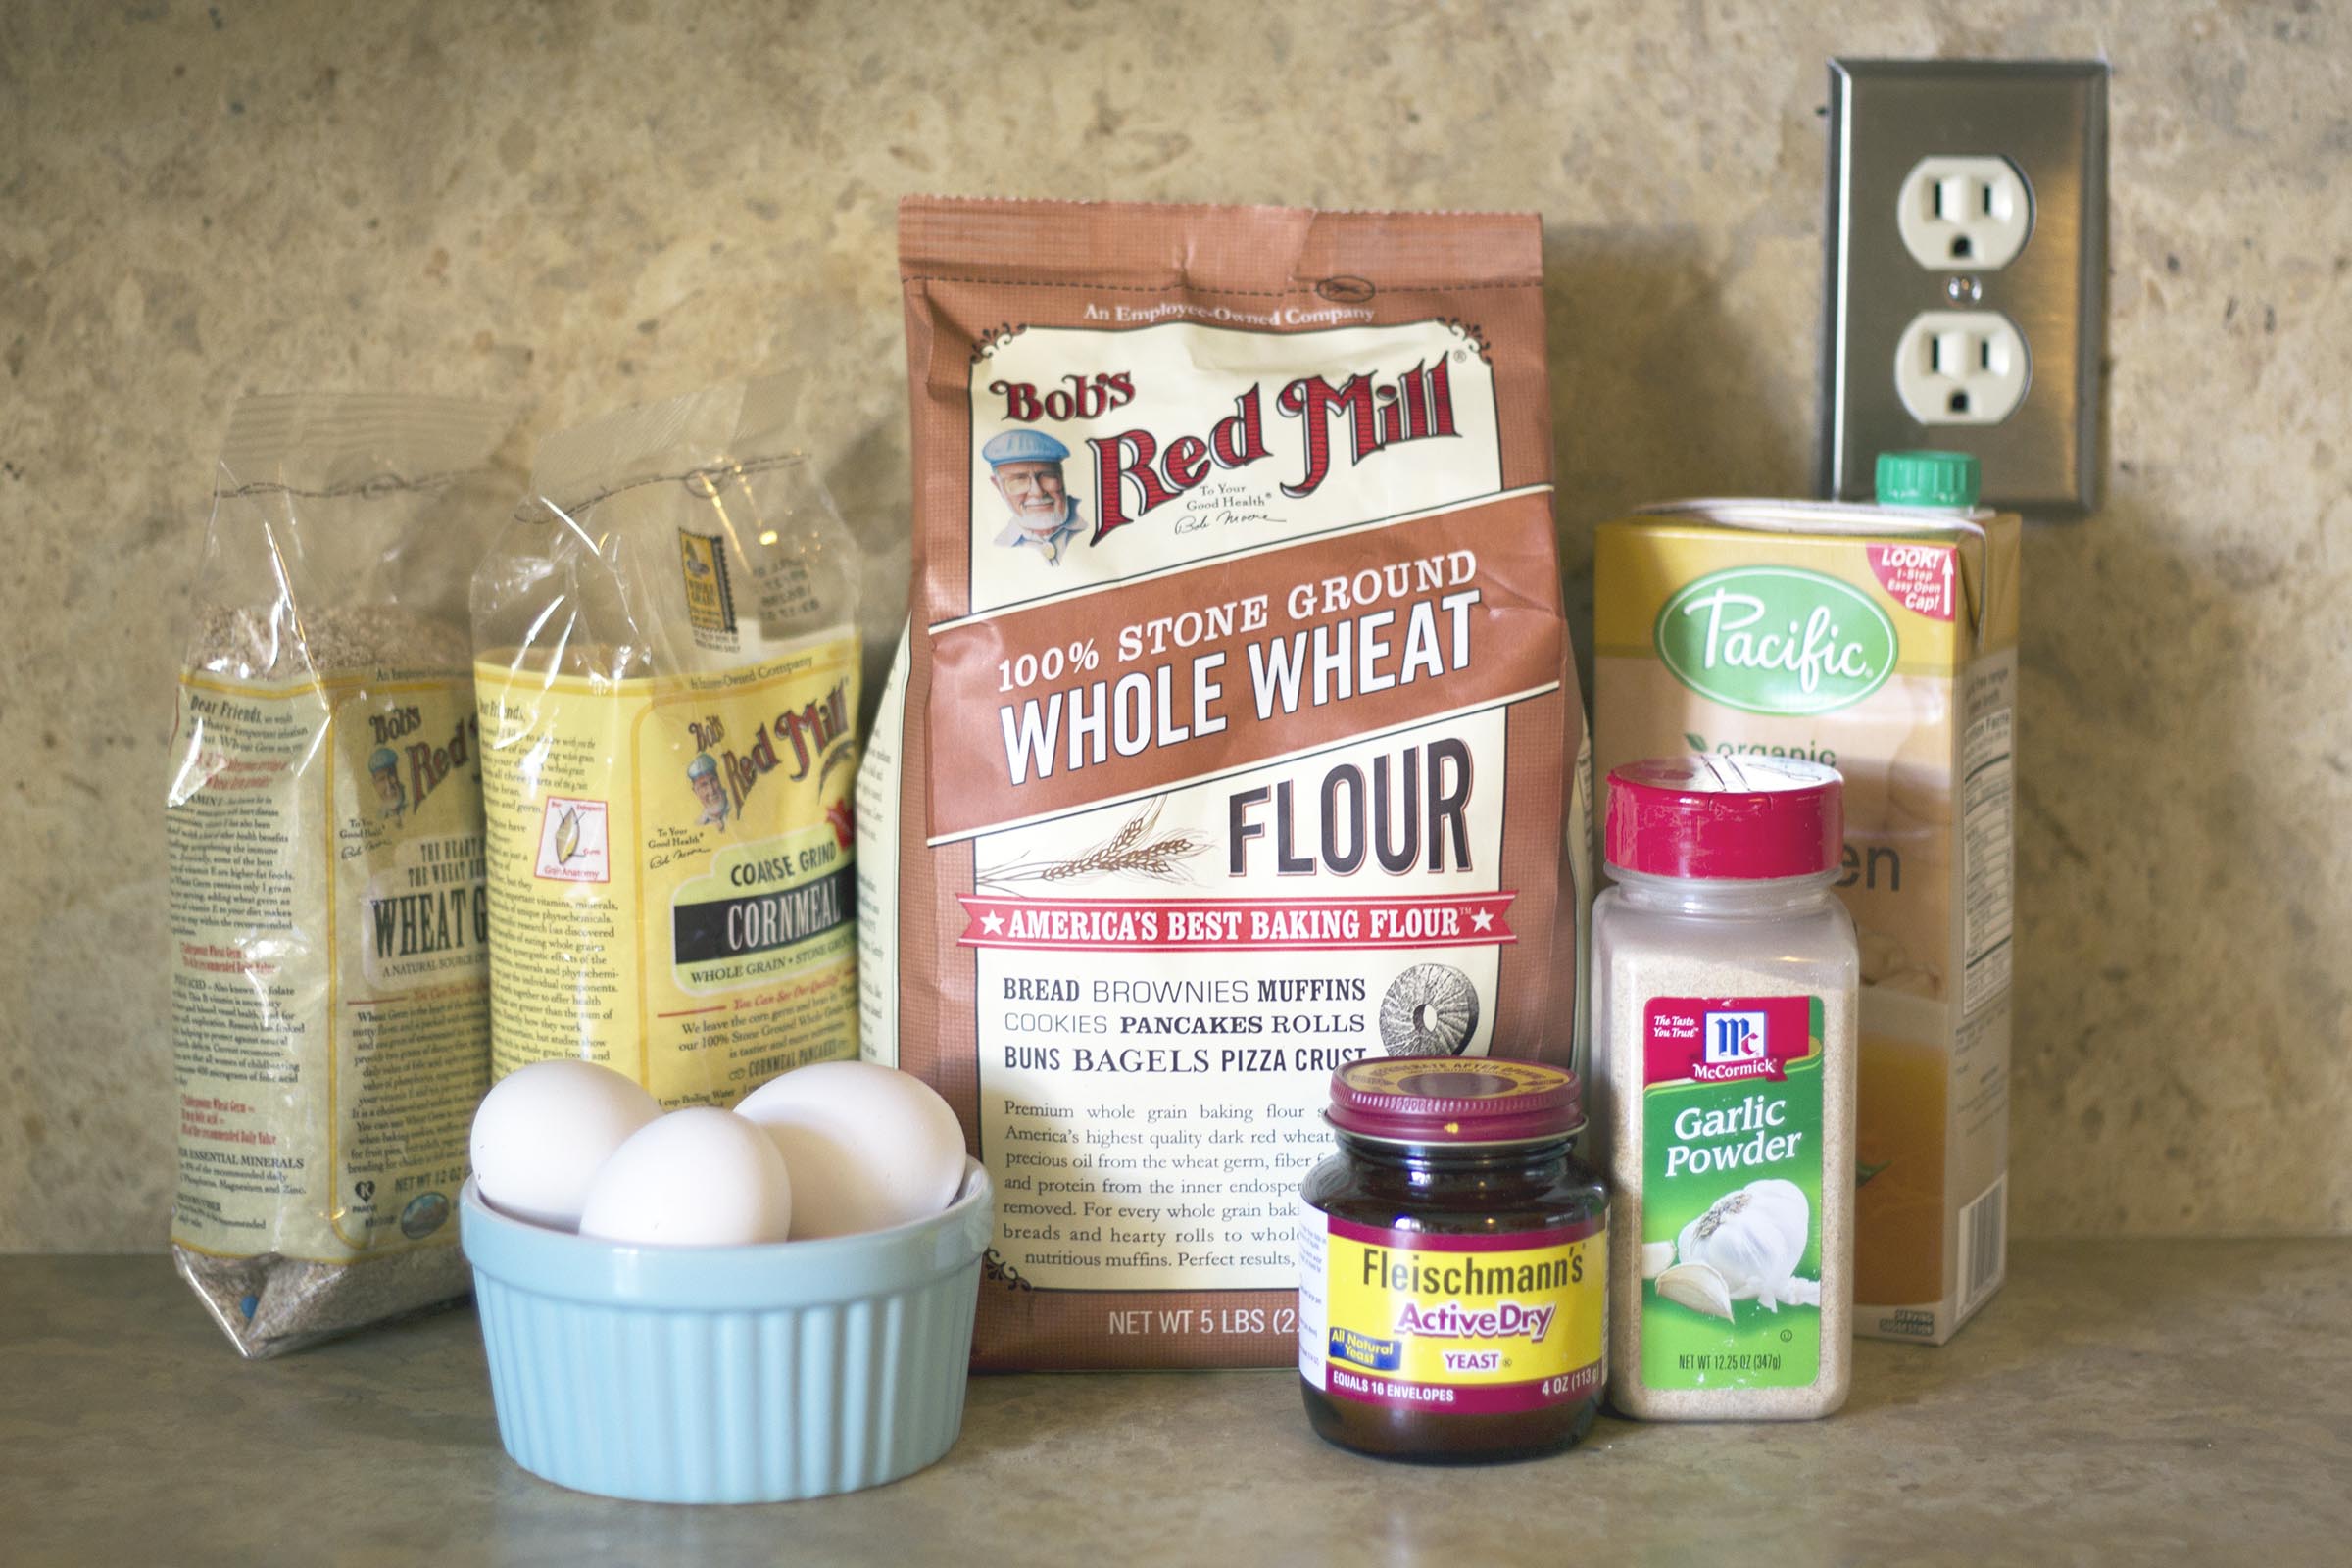
Ingredients:
-
- 1 cup whole wheat flour
- 1/4 cup wheat germ
- 1/4 cup yeast
- 1/4 cornmeal
- 1/4 cup sweet potato, shredded
- 1/2 – 3/4 cups chicken stock
- 1 teaspoon salt
- 1 1/2 tablespoons canola oil
- 2 eggs
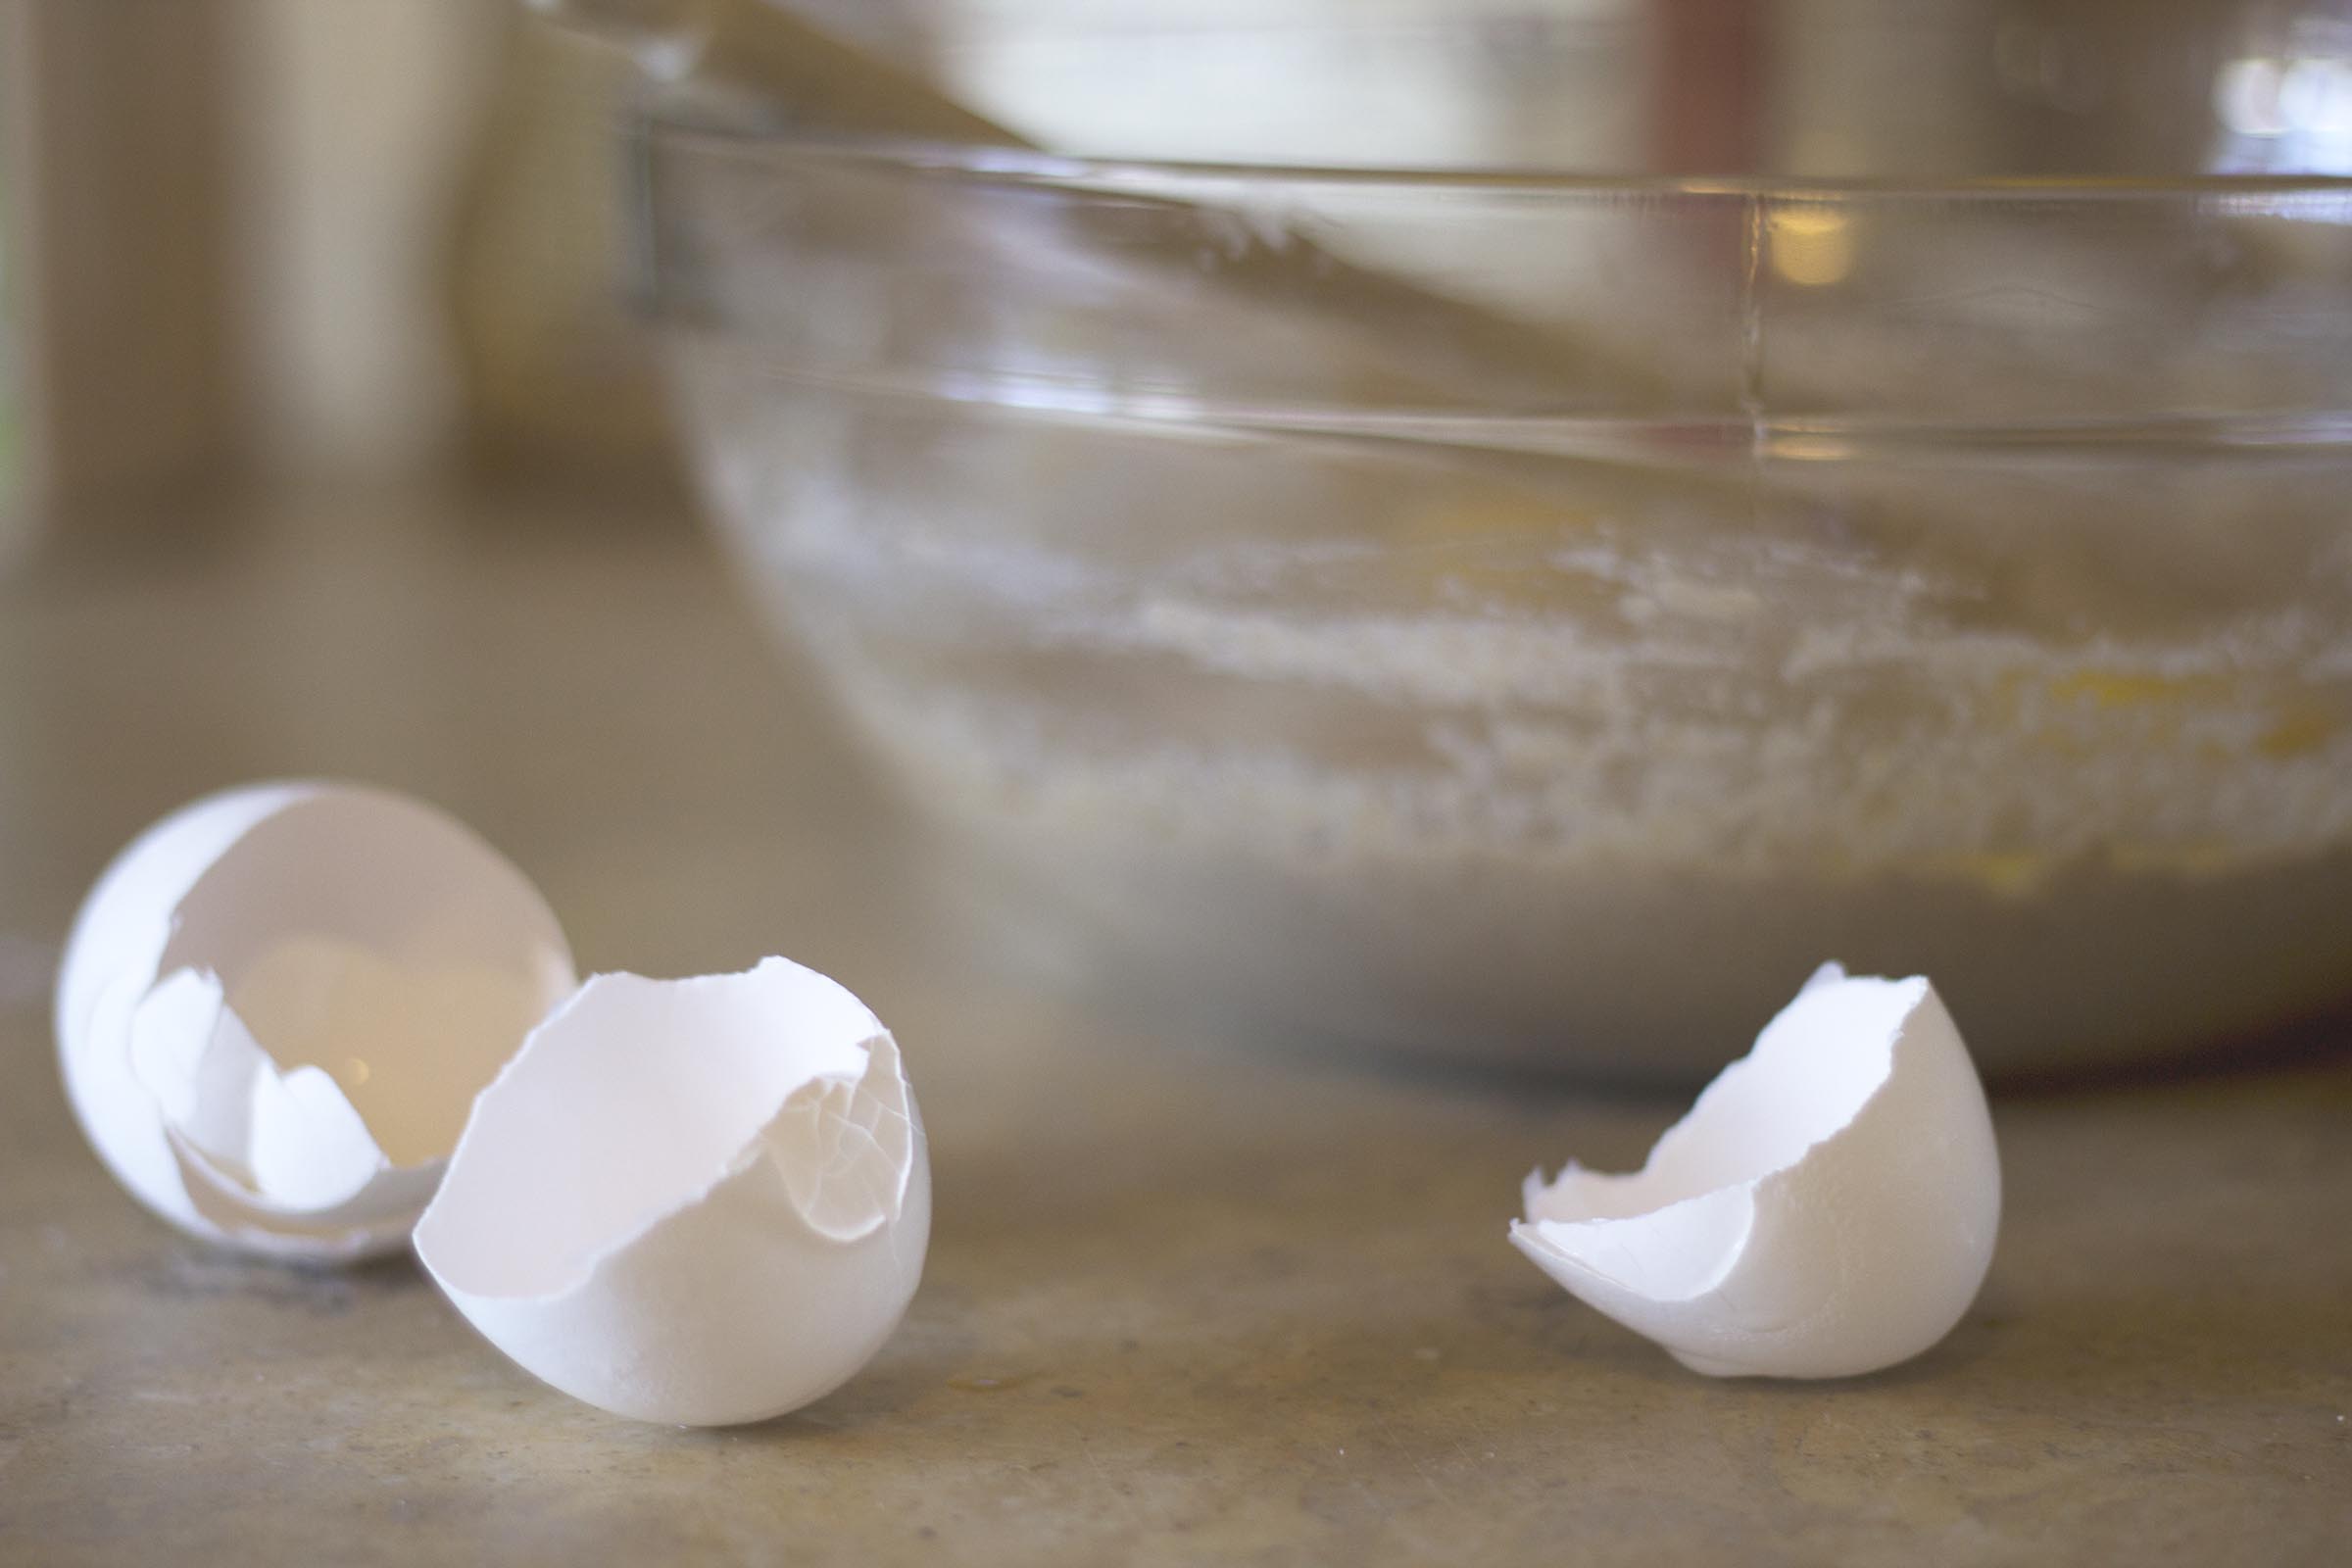
Combine all ingredients together in a bowl and mix together. If dough is too sticky, add more dry ingredients (whole wheat flour, cornmeal, wheat germ) until cookie dough consistency. If the dough is too dry and won’t hold together, add some additional chicken stock.
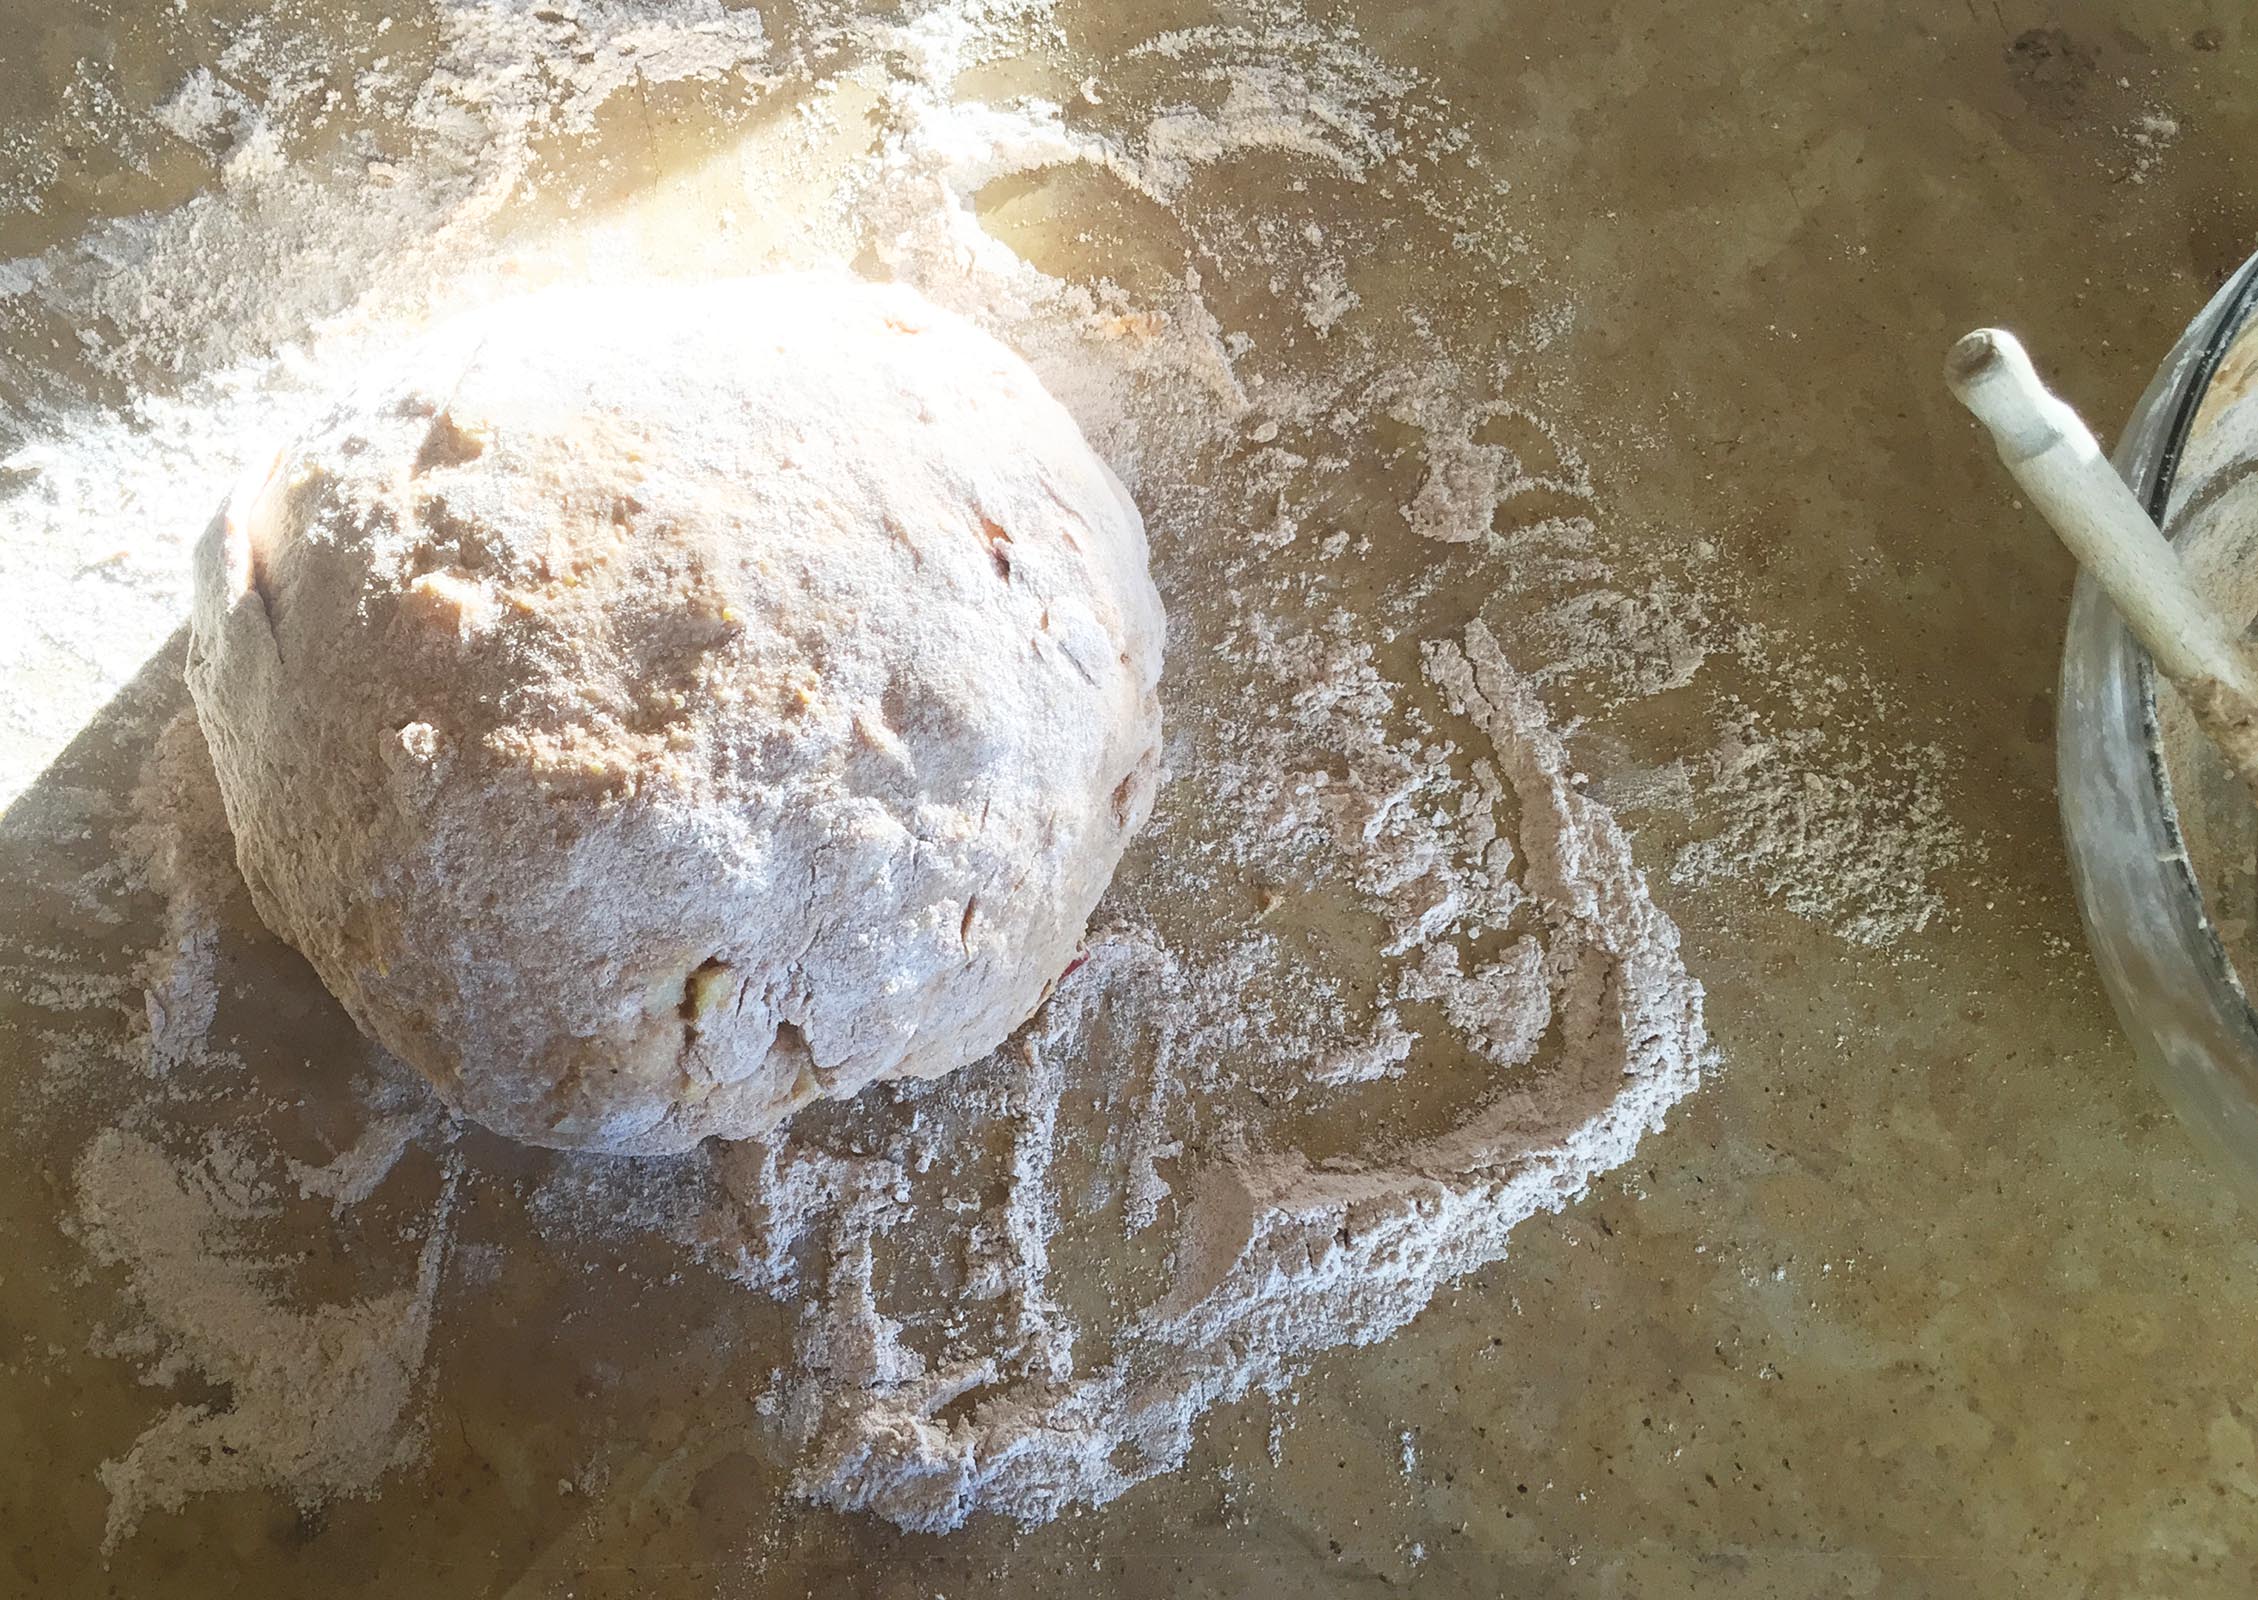
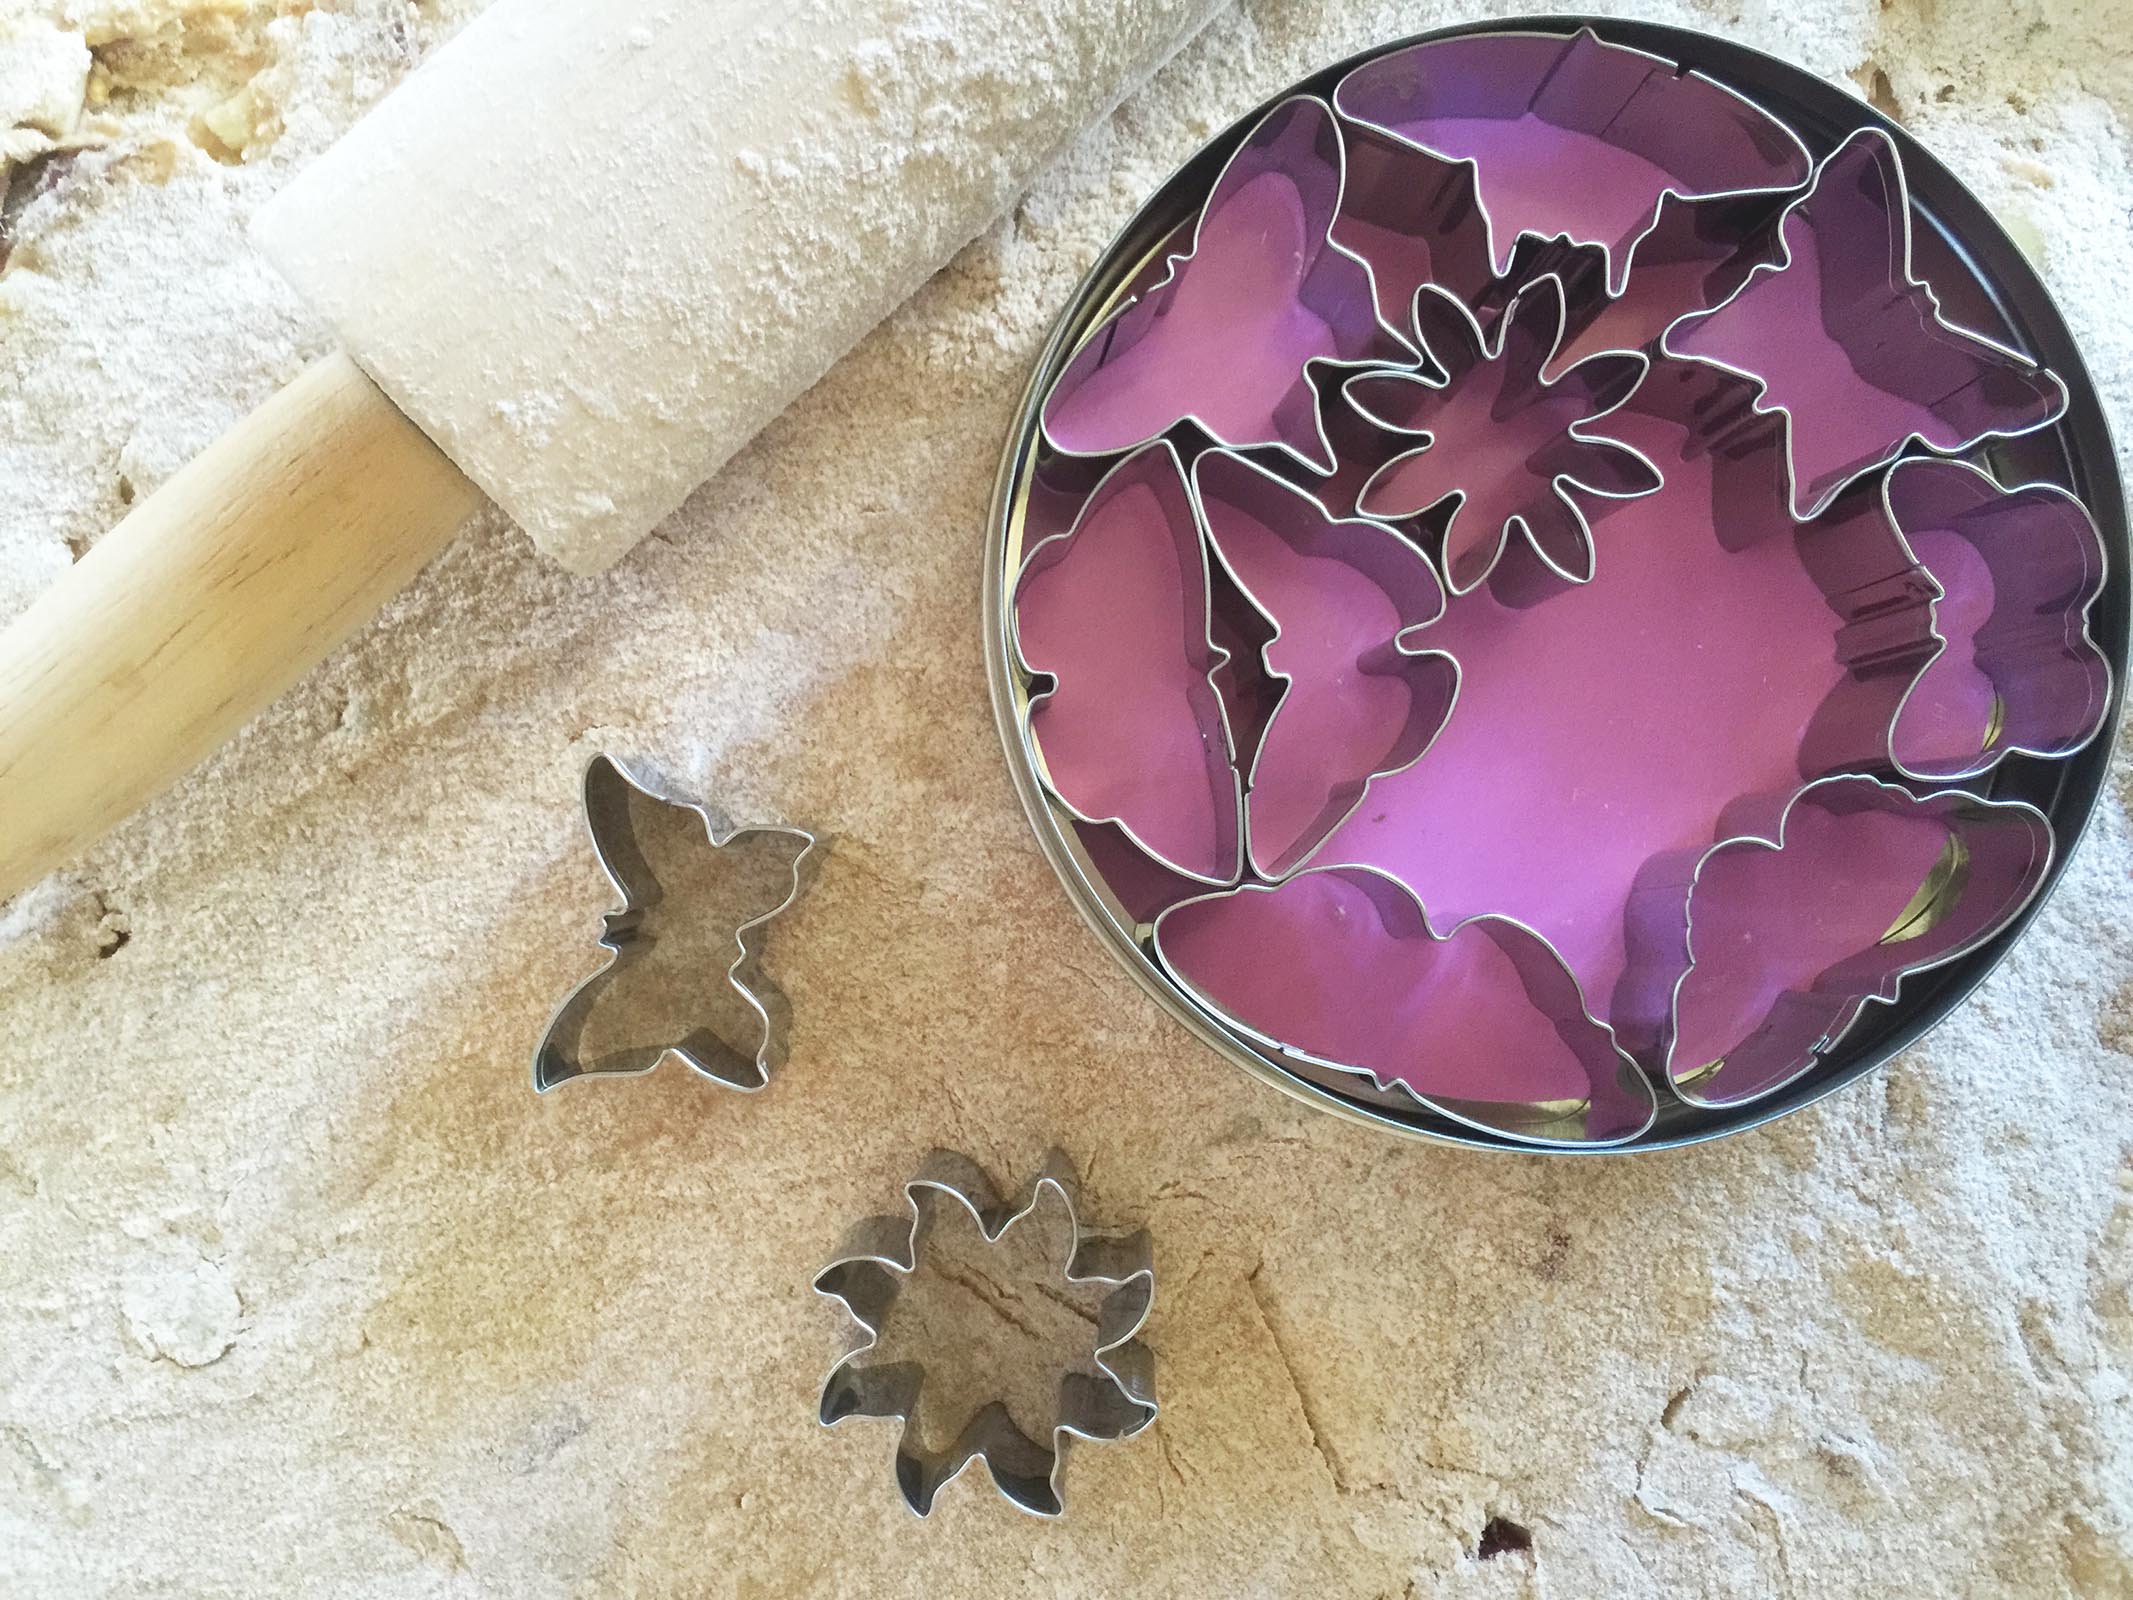
Once the dough is combined, let it rest for an hour and the yeast will do it’s magic. Do a quick knead on it and then prepare a flat surface for rolling it out. The kitchen counter is your best bet! Lightly flour the counter to prevent sticking and start to roll out dough with a rolling pin. I actually was a bit impatient when making this batch and didn’t roll my dough out thin enough, so I recommend a thickness of 1/4 inch.
I probably tried about four different local stores and none of them had cookie cutters (let alone the dog bone cookie cutters I was looking for), so I settled on a small set from Marshalls of butterflies and flowers. The sound of these aluminum cookie cutters in their tin has such an old-timey sound to it, love that! I ordered this set of dog bone cookie cutters for my next batch.
Once the dough is rolled out, use cookie cutters to make the bones. In the past I’ve also used a knife and make little squares or rectangles. Once they bake they end up looking like doggy Cheez-its!
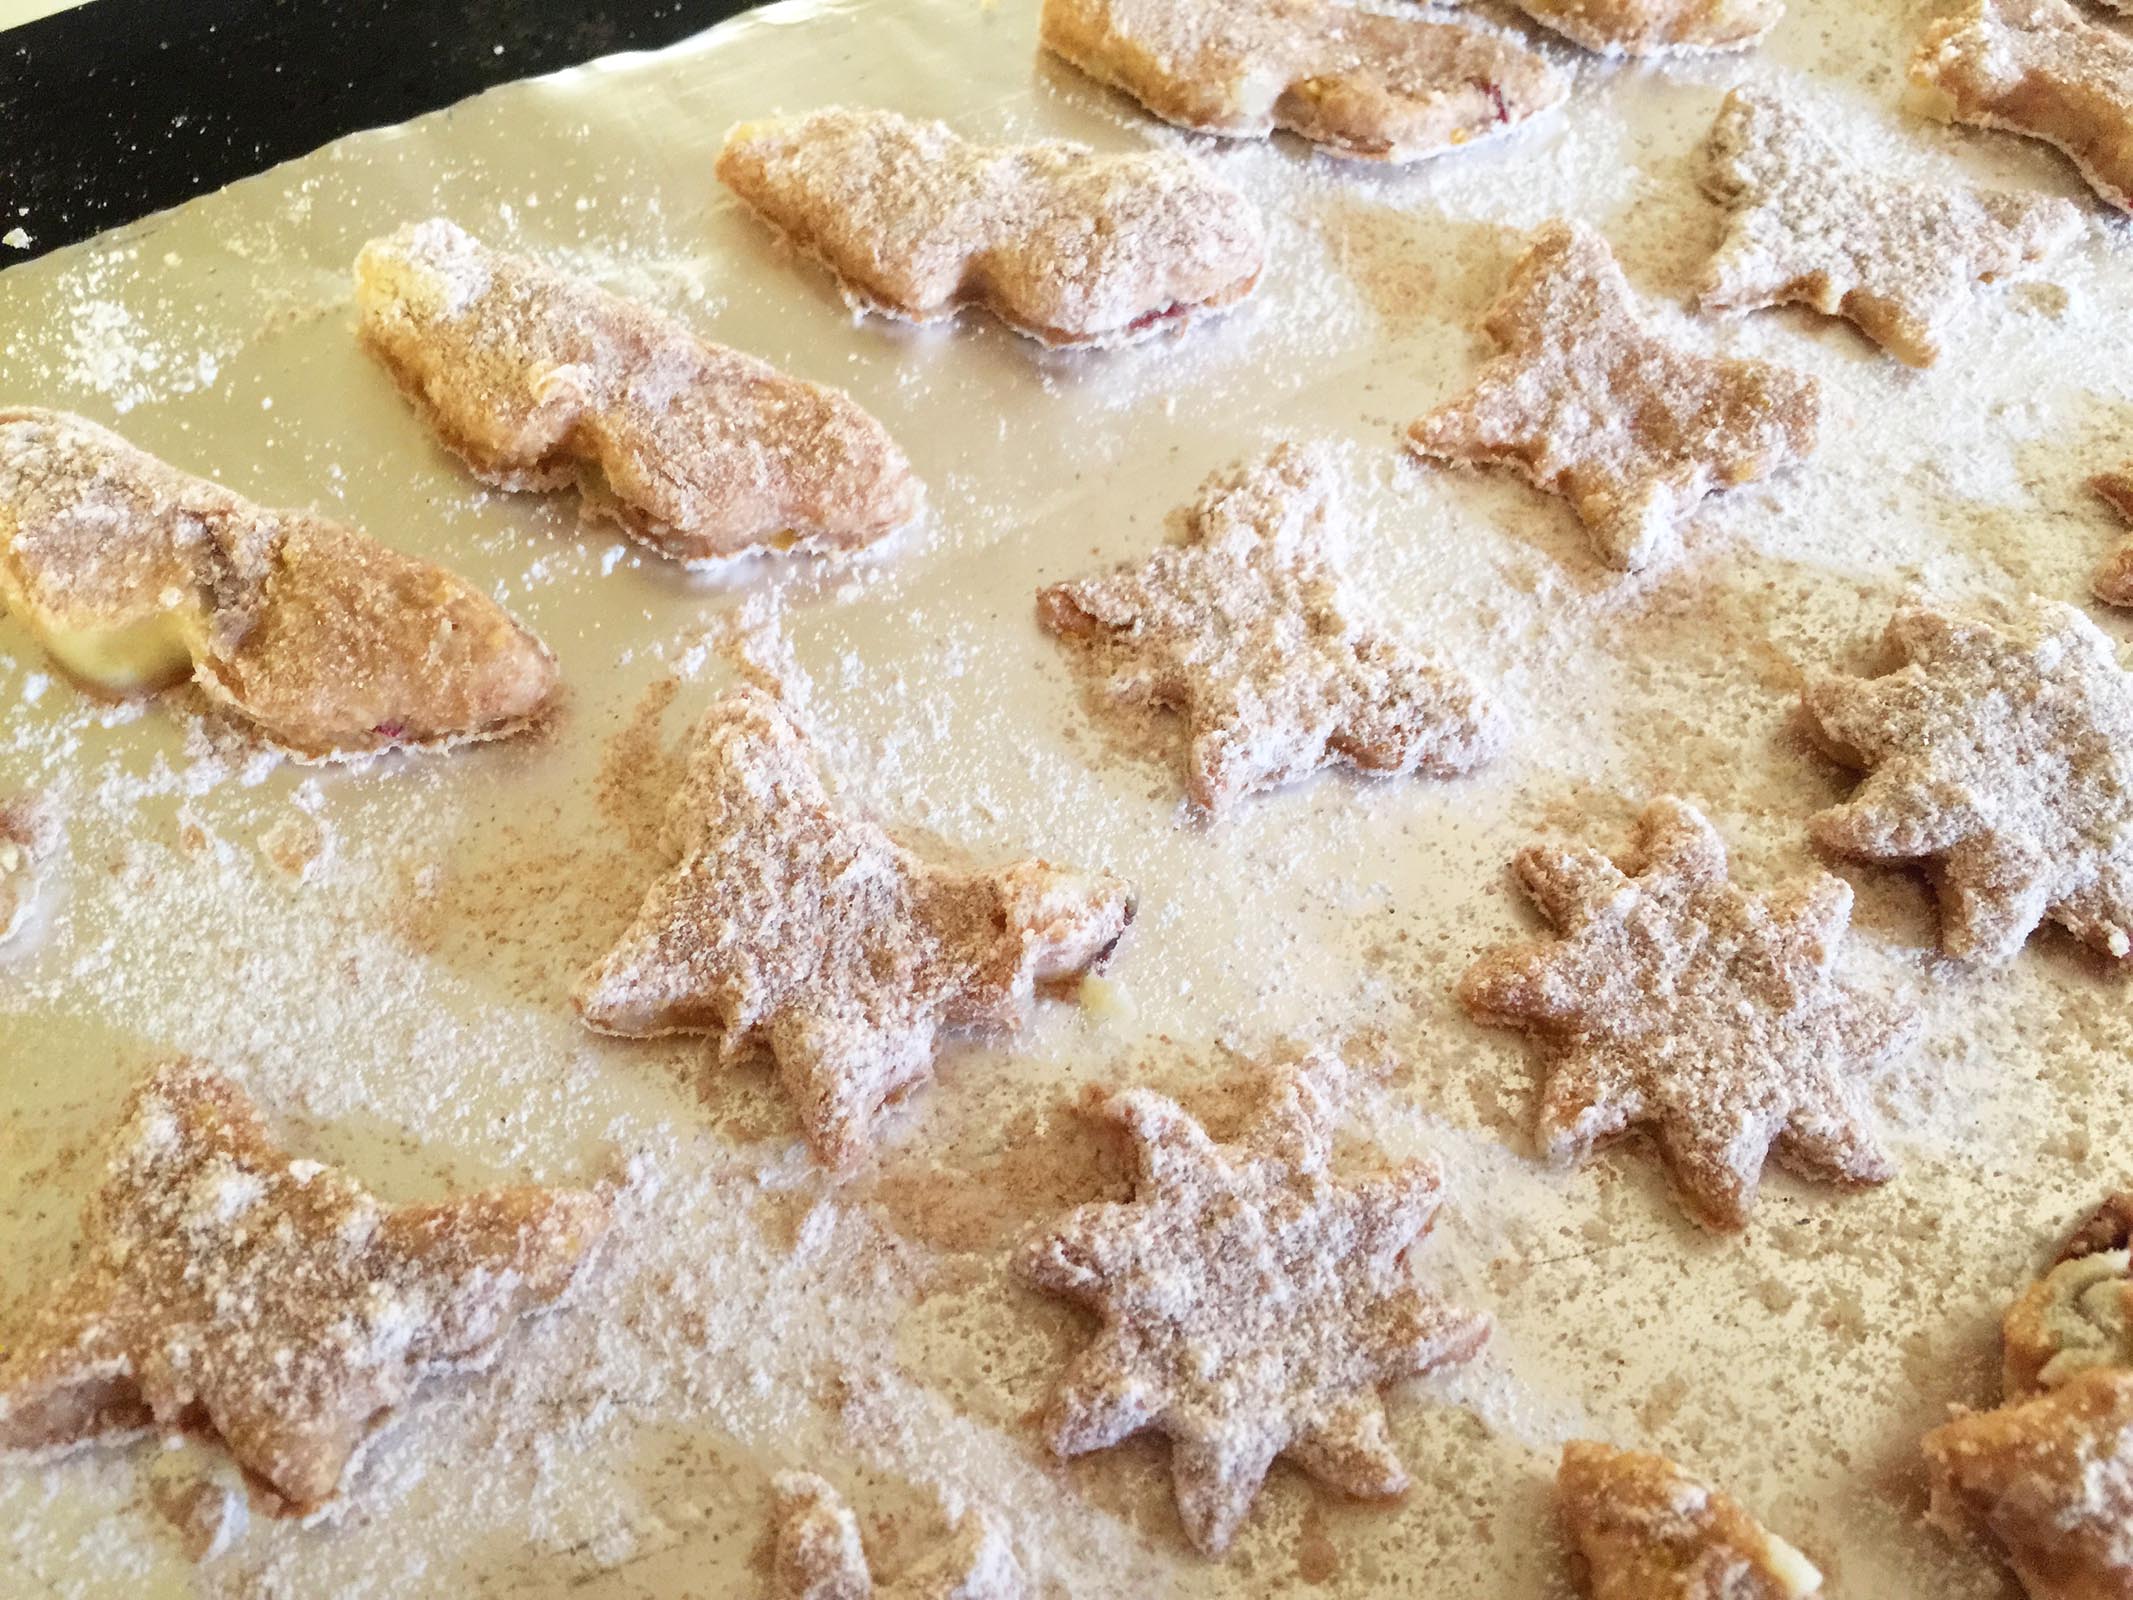
Place the bones on a foil covered cookie sheet and bake in the oven at 400 degrees for 10 minutes. At the 10 minute mark, use a basting brush and coat each bone with chicken stock and turn the oven off. Let the bones continue to dry out in the oven until the oven has completely cooled. This allows the bones to dry out and get a crunch to them.
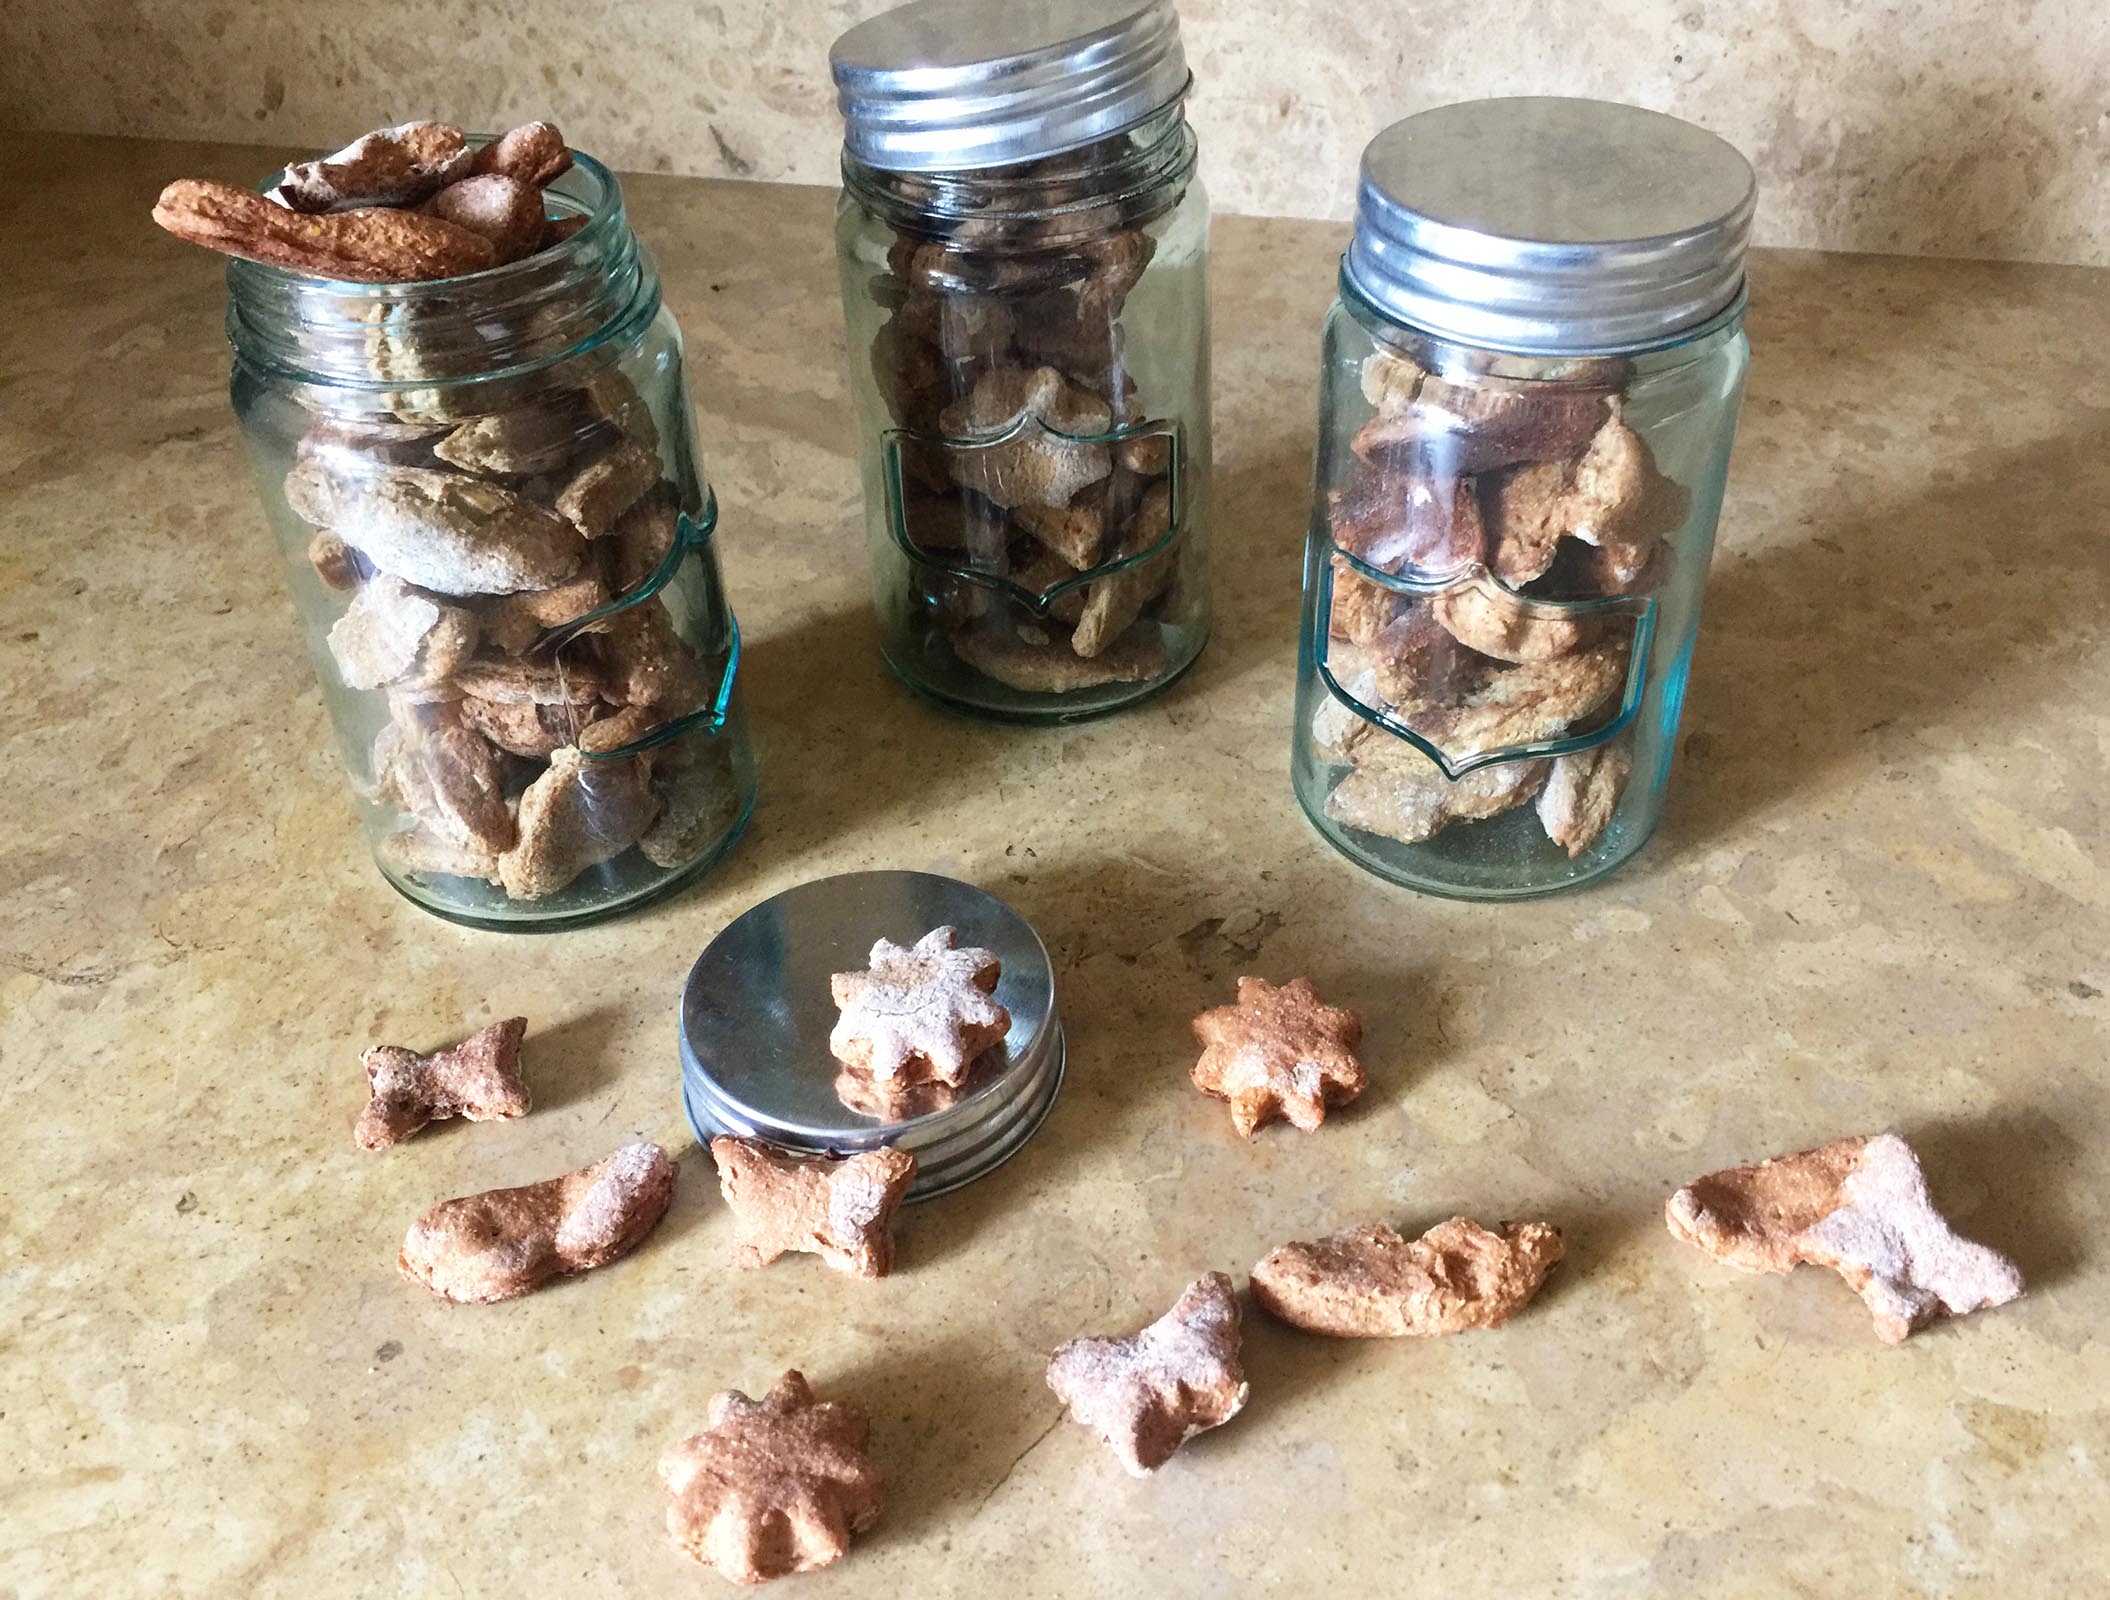 Once you’re done and the bones have dried from the oven, let them cool and store in an air tight container like a jar or ziplock bag. I love packing them into cute jars (hello Target dollar spot find!) and handing them out to my friends’ pups.
I have such a great time making these for Lola and hope you enjoy making them for your pets too! Have you ever tried making treats for your pets? What was your experience like?

Need more Glam? Follow Just Add Glam here!
| Bloglovin’ | Facebook | Twitter | Instagram | Pinterest | Pose | Poshmark | WeHeartIt |
These are too cute! I have 4 doggies that would love them, saving for later. 🙂
Wonderful recipe! I have two dogs, and dog treats are so expensive these days. I’m going to try this! Thanks!
So fun! Thanks for the idea. Definitely going to make some for my doggie!
I have most of this at home and will get the rest soon! I cant wait to make some for my pups. Thank you!
I make 4 different types of treats for our neighbors dog. Will have to add this one to the list. Love natural ingredients. I grow and grind our own wheat, I know it is super good.
I really need to do this. It would save me so much money if I just made my dog’s treats instead of bought them.
I am so making these for my dogs! Just pinned!
Thank you for sharing this! I have been wanting to make homemade treats for my pup, and am definitely going to give this recipe a try!
xo Ashley
I love this idea. One of my dogs has allergies and I get so nervous about giving her any treats.
LOVING these! We have 4 (little) dogs, and it’s amazing how much money we spend on all the treats and special foods. Will have to try making these – I’ll bet they’ll love them!