A few posts back I wore my hair a bit differently than usual and had a lot of readers asking what I did to make the big waves I wore in Striped. Well, ask and you shall receive! Check out my how-to guide for the perfect bombshell curls below…
How to Make the Perfect Bombshell Curls
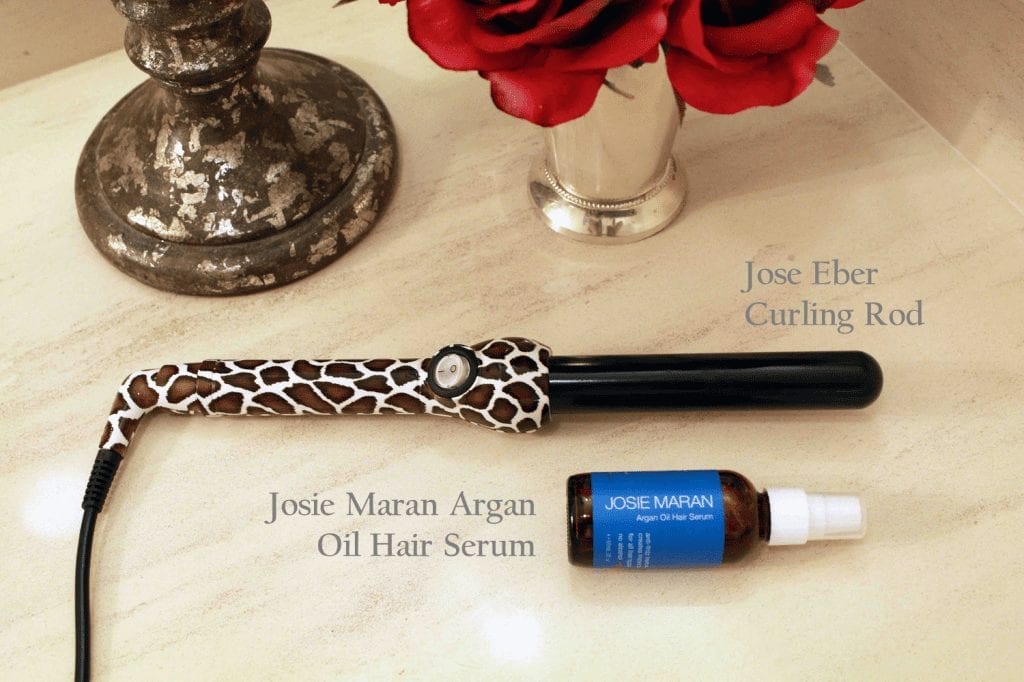
Products to Use for your Bombshell Curls:
To make the big bombshell curls, I used my Jose Eber Curling Rod and Josie Maran Argan Oil Hair Serum. I prefer these newer curling rods to the traditional clamp curling irons because they don’t leave a crimp in your hair and–I don’t know how they do it but–this curling rod keeps my curls intact for days….DAYS! And that’s without any hairspray.
 Let’s get straight into the how-to….
How-To Make your Bombshell Curls:
 Step 1: Start with freshly washed, clean hair. I prepped my hair with a thorough shampooing, applied a few pumps of argan oil at the ends of my hair for moisture and dried my hair with a hair dryer. Since I like to get the mileage out of my curls, this is my most important step to help keep my bombshell curls looking fresh (that, and dry shampoo…)
 Step 2: Once hair is dry, section off the bottom layer to begin curling your hair. I have thick hair so I prefer using smaller, more manageable sections to work with.
 Step 3: Once hair is sectioned off, select a 1-1.5″ section of hair and wrap around the barrel of the curling rod. The roots end of the hair should start wrapping at the base of the barrel, with the barrel pointing downward. Hold the wrapped hair on the rod for about 10 seconds and then carefully release it. Note: my curling rod came with a protective glove however I prefer not to use it (read: I like to live dangerously…)
 Step 4: Continue wrapping and curling pieces of hair until the entire layer is curled.
 Step 5: Once the entire first layer is curled, let down the next layer of hair and continue the wrapping and curling process. Remember to hold the hair around the barrel for approximately 10 seconds and carefully release it until cooled.
 Step 6: For the very last pieces of hair at the top of my head, I like to wrap the hair by pulling straight up (as opposed to the left or right) to help add a little extra volume and lift at the roots.
 Et voila! You have achieved some pretty awesome bombshell curls, lady. Personally, this is a bit too ‘perfect’ and ‘done’ for me so I like to go one step further to achieve Victoria Secret Angel-esque bombshell curls… Let’s continue.
 Step 7: If you are looking for a looser curled look, I like to run my fingers through the curl to help soften them up and give a more natural look. Don’t worry about your curls falling out from running your fingers through your hair…they will last for DAYS!

And there you go! Feel free to finish your bombshell curls off with hairspray or other product but I find that the curl lasts without anything at all. Gorgeous curls that will last for days? Count me in!
Hope you enjoyed this hair tutorial!
xoxo
Jennifer
Great tutorial! Now if only my hair was long enough to do this…! Any tips for hair that is just a little past the shoulders?! 🙂
Your hair is definitely long enough to do this! You might consider not brushing it out once curled to avoid too much volume at the ends but I think it would look great on you!
xoxo
Jennifer
Very pretty! You make this look so easy – guess it comes with practice cause it does not look this good when I try.
Don’t worry, you’ll get the hang of it! The clip-less curling rod is a little tricky to use at first but with some practice it creates great results!
xoxo
Jennifer
I have naturally wavy hair. Could I still do this?
Absolutely! Give it a try and tweet me a picture!
xoxo
Jennifer